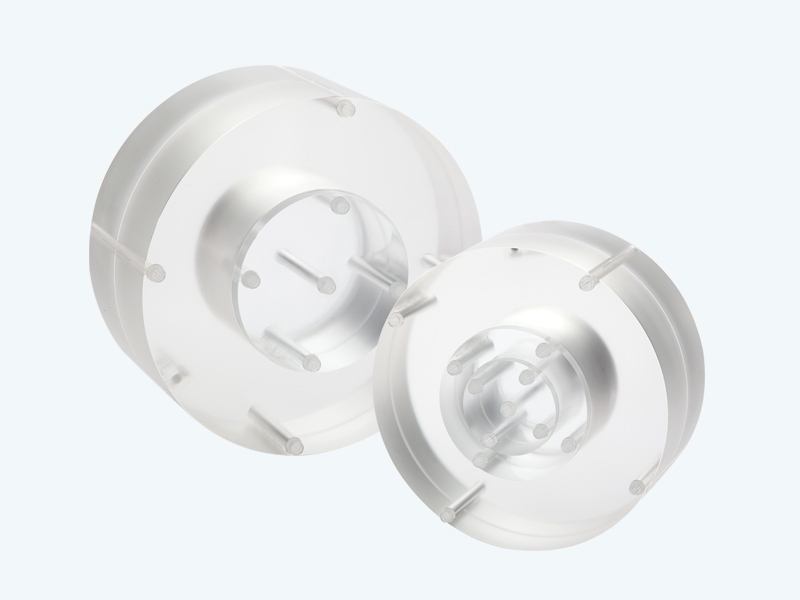
Perform robust image quality testing of advanced CT systems with Advanced iqModules. This set of 4 modules provides comprehensive testing of high-contrast resolution, low-contrast detectability, slice sensitivity, geometric evaluation, and uniformity.
Unmatched Image Quality Testing
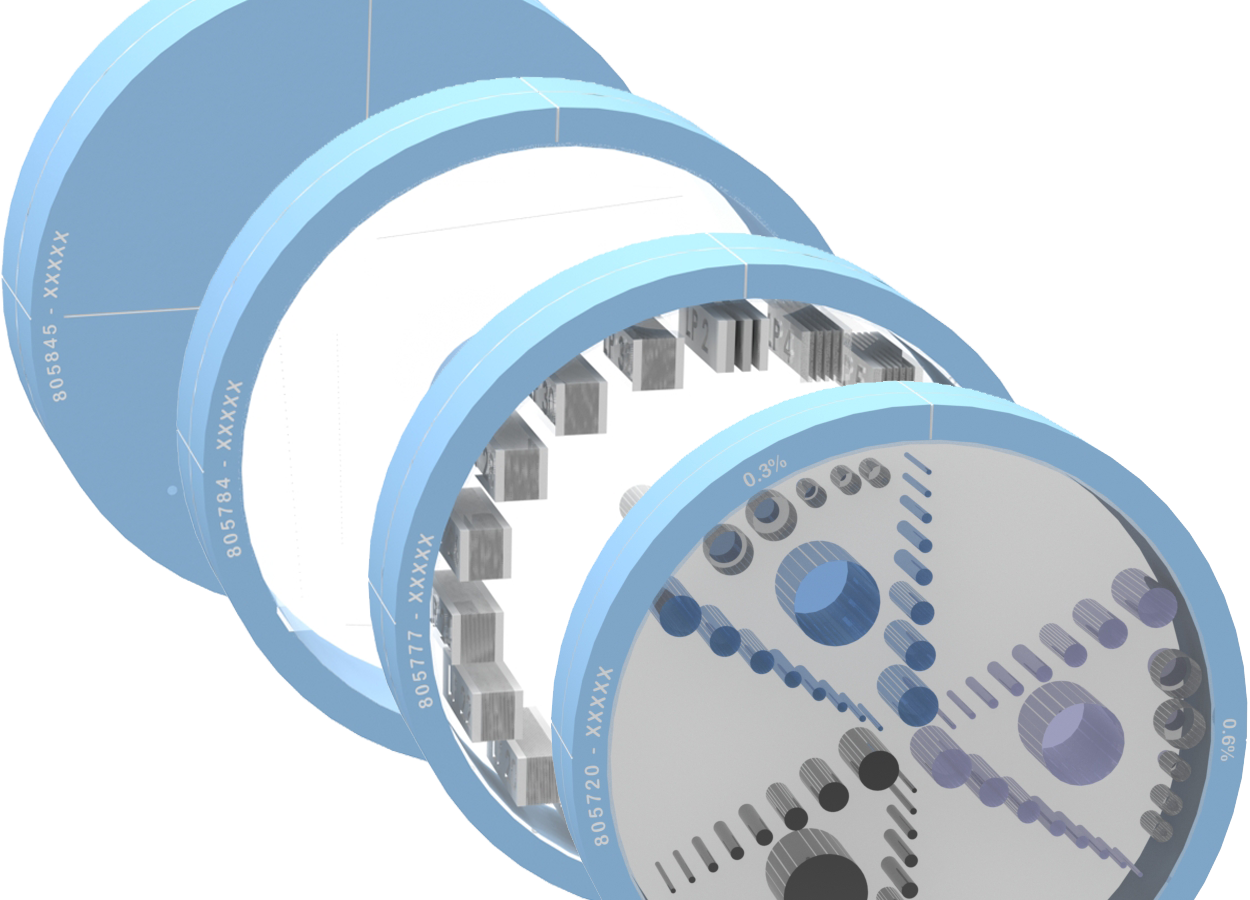
Versatile and unique, the Advanced iqModules offer resolution up to 32 lp/cm, the widest range of test objects to evaluate low contrast detectability, and a broad range of methods to evaluate Slice Sensitivity.
Modular CT QA Support
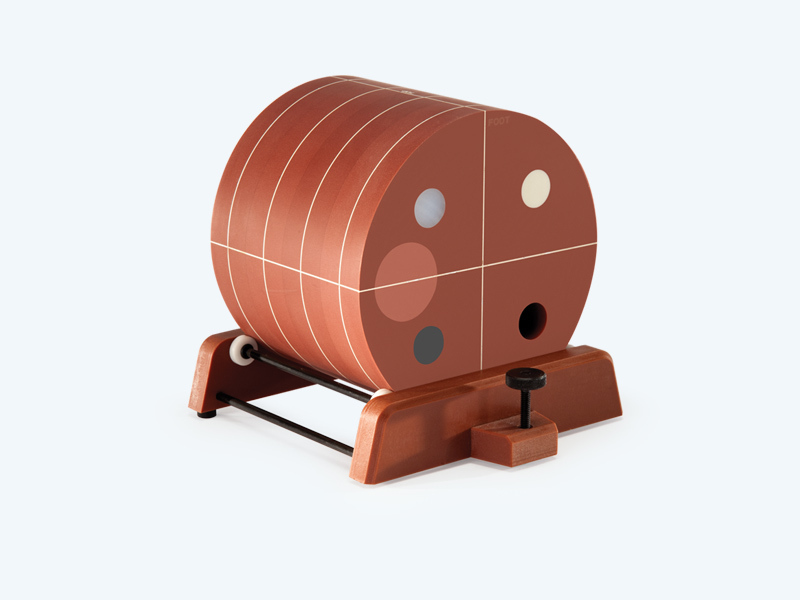
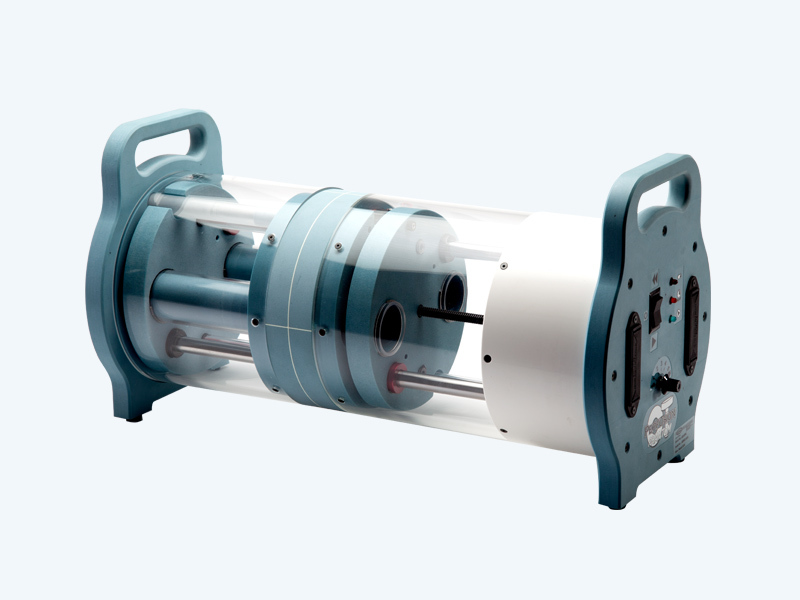
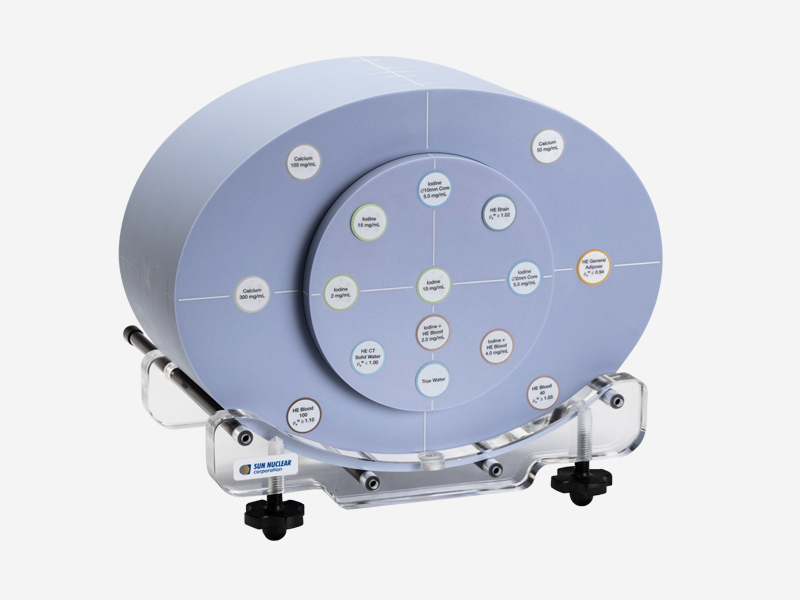
Combine modules with the CT ACR 464 Phantom for expanded, independent CT QA. Or, combine them with the Advanced Electron Density Phantom or the Multi-Energy Phantom, to create a robust system for testing image quality and other parameters such as dose distributions concurrent with evaluating Multi-Energy CT performance and performing HU calibrations.
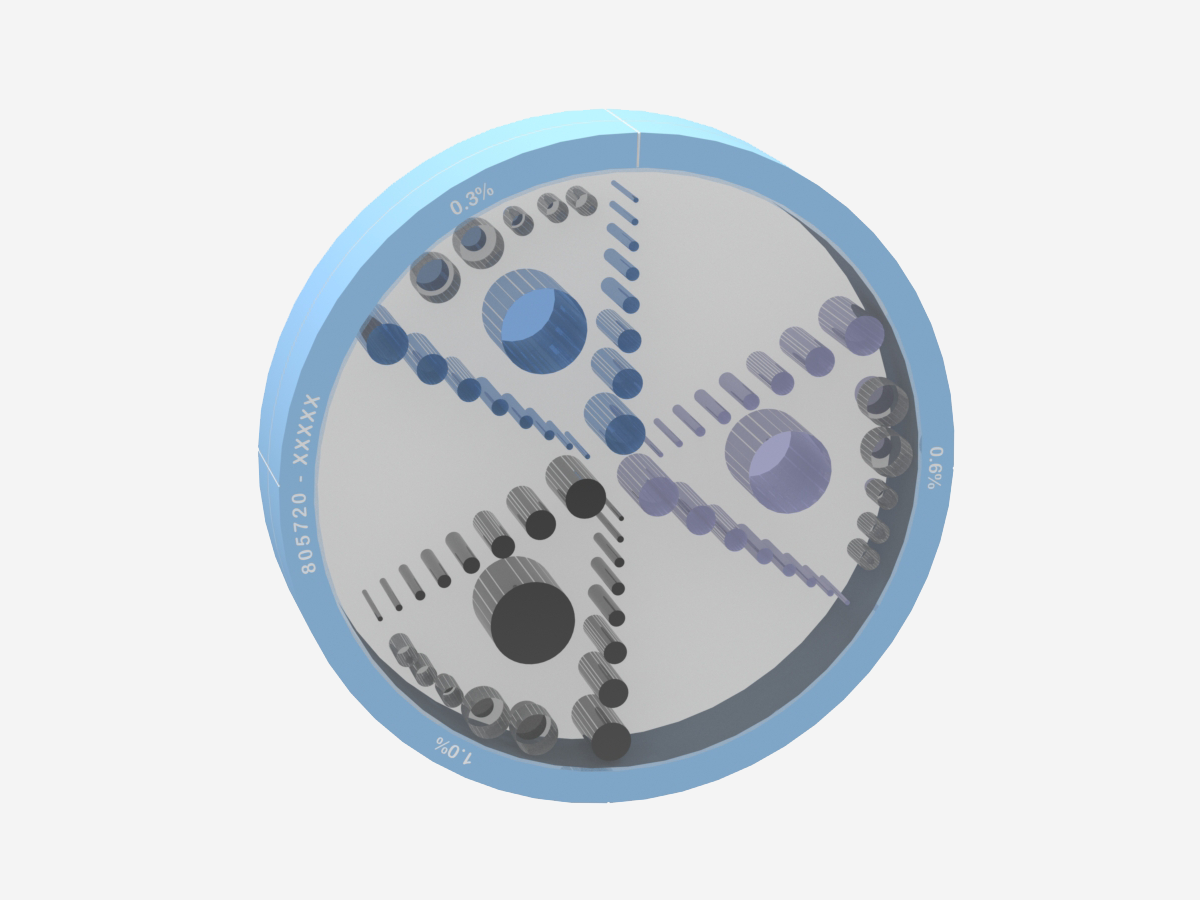
Low-Contrast Detectability Module
Use this module to test the low-contrast detectability of the most demanding CT scanners.
- Test performance across scanners and protocols with 3 different contrast levels
- 0.3%, 0.6%, and 1.0% (3 HU, 6 HU, and 10 HU)
- Ensure robustness against noise with multiple contrast objects
- Sized from 1.5 to 25 mm with two of each size

High-Contrast Resolution Module
Use this module to expand your CT ACR 464 testing.
- Includes all resolutions from the CT ACR 464 Phantom, plus high resolution up to 32 lp/cm
- Large bar patterns offer easy visualization and analysis
- Zinc high-contrast material provides visibility without over-ranging scanners

Slice Sensitivity & Geometric Evaluation Module
Use this module to validate slice thickness, slice sensitivity profile, and system geometry.
- Measure slice thickness and slice sensitivity profile with an opposed pair of wire ramps and 2 opposed pairs of bead ramps
- Calculate Modulation Transfer Function with one-off vertical wire
- Check geometric accuracy with 8 acrylic spheres
- Perform MTF measurements with BBs of two different sizes

Uniformity Module
Use this module to assess CT number uniformity.
- Measure uniformity and noise
- Measure distance and calibrate pixel size using 2 embedded BBs spaced 100 mm apart
- Calculate MTF, NPS, and other noise-related metrics
- Doubles as an extension plate for use with the CT ACR 464 Phantom and other Advanced iqModules
Expand your CT imaging QA protocols.
Specifications
Materials |
Epoxy and CT High Equivalency Solid Water® (Uniformity Module comprised solely of HE CT Solid Water) |
Diameter |
20.0 cm (7.9 in) |
Length |
4.0 cm (1.57 in) |
Warranty |
5 years |
Certifications |
Product complies with MDD 93/42/EEC. Gammex a wholly owned subsidiary of Sun Nuclear Corporation, is certified to ISO 13845. |
Contrast Levels |
0.3 % (3 HU), 0.6 % (6 HU), 1.0 % (10 HU) |
Sizes at Each Contrast Level |
25 mm, and two at each of 1.5, 2, 3, 4, 5, 7, 9, and 12 mm |
Sizes of Sub-slice Objects |
2, 3, 5, 7, and 10 mm (cylinder diameter and length), at each contrast level |
Resolution Pattern Size |
1.5 cm x 1.0 cm x 4.0 cm |
Resolutions Tested |
2, 4, 5, 6, 7, 8, 9, 10, 12, 14, 16, 18, 20, 22, 24, 26, 28, 30 and 32 lp/cm |
Automated Analysis Features |
Solid material samples improve computational analysis. Large pattern sizes enable robust evaluation. |
Contrast Material |
Zinc |
Wire Ramps |
Tungsten wire, 0.05 mm diameter |
Bead Ramps |
One opposed set with 0.18 mm tungsten carbide BBs, and one with 0.28 mm tungsten carbide BBs |
MTF BB’s |
0.18 mm and 0.28 mm |
MTF Wire |
Tungsten wire, 5 degrees off-vertical, 0.05 mm diameter |
Acrylic Spheres |
1.0, 1.5, 2.0, 3.0, 4.0, 6.0, 8.0, and 10.0 mm diameter |
Tungsten Carbide Beads |
0.28 mm (0.011 in) in diameter grade 25 Tungsten Carbide beads |
