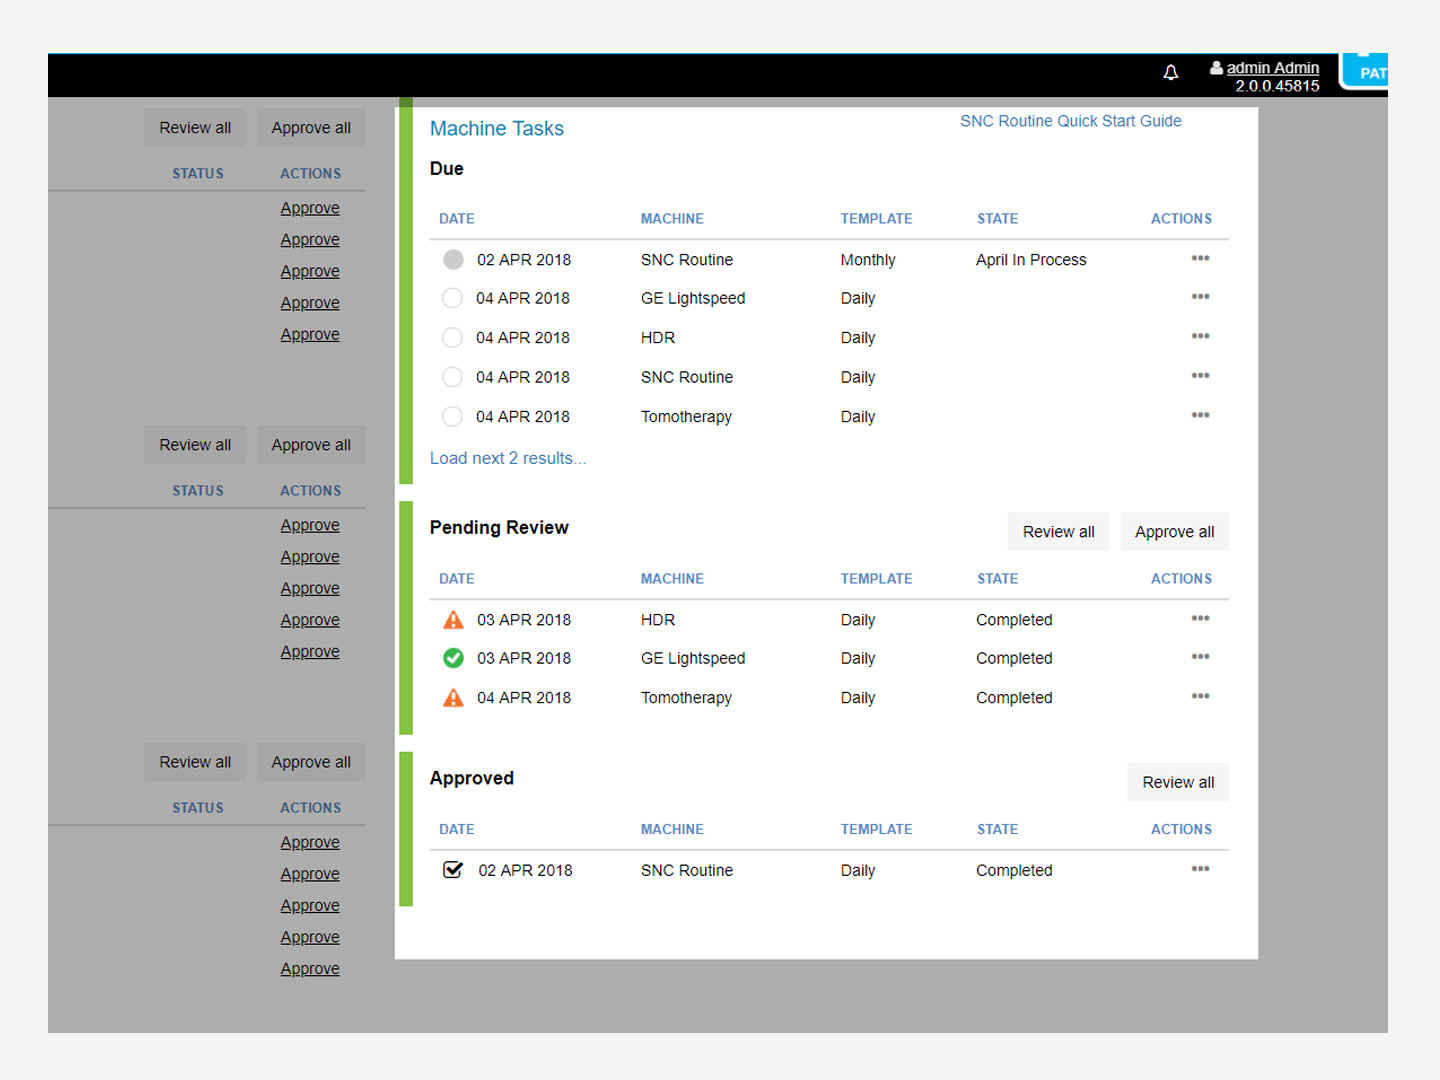
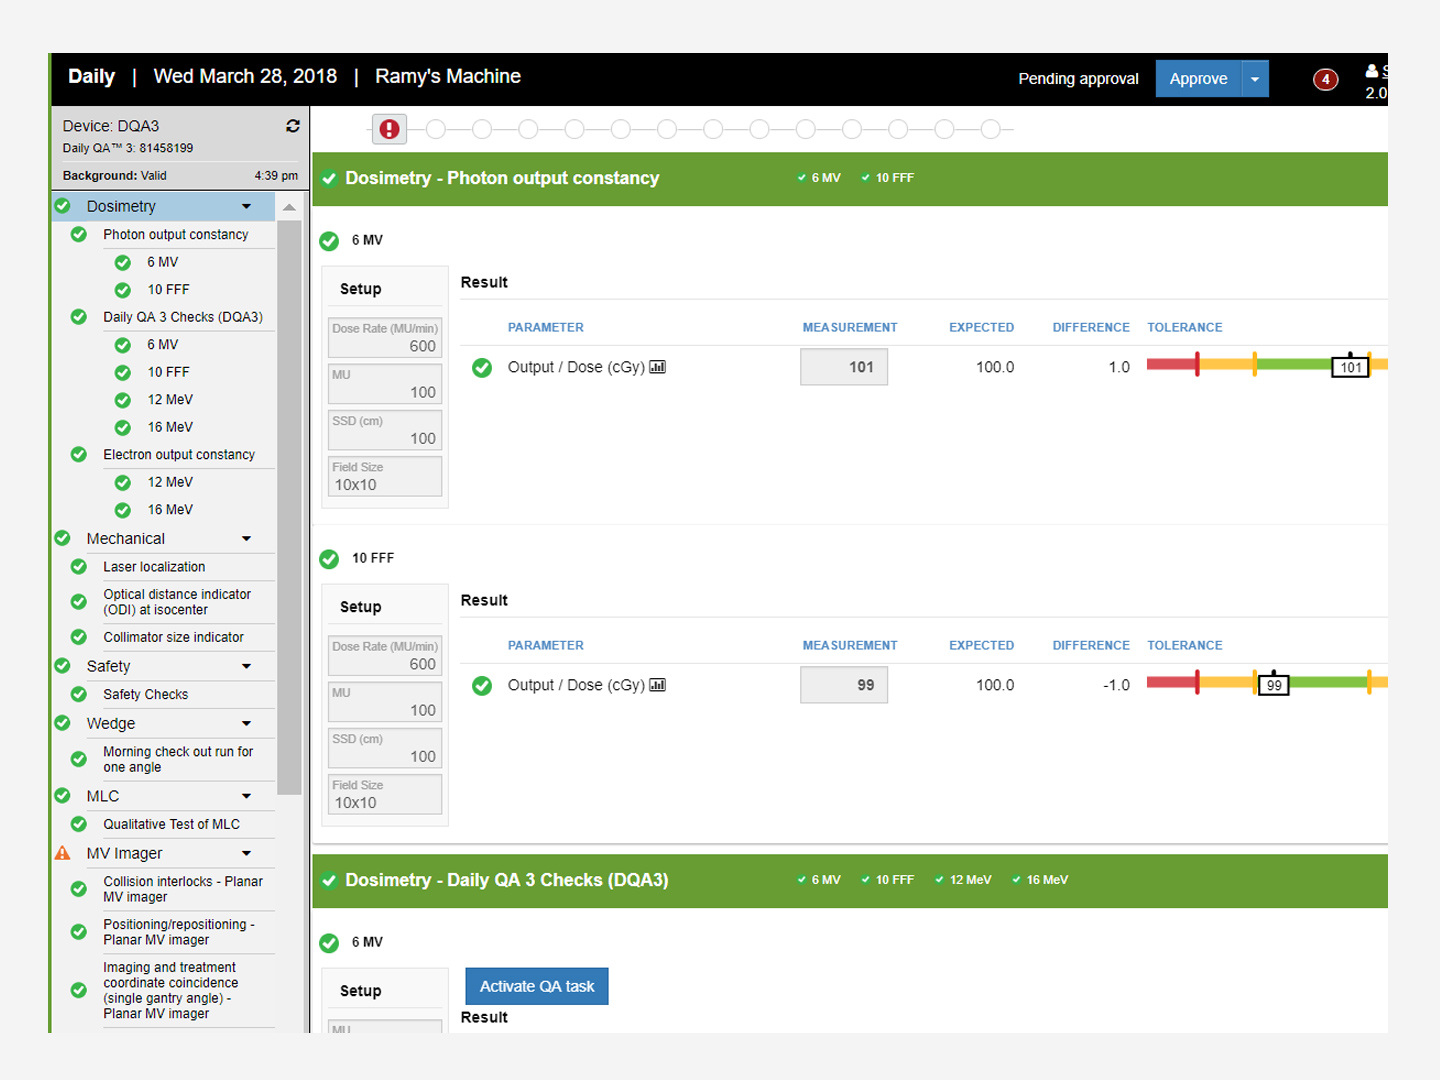
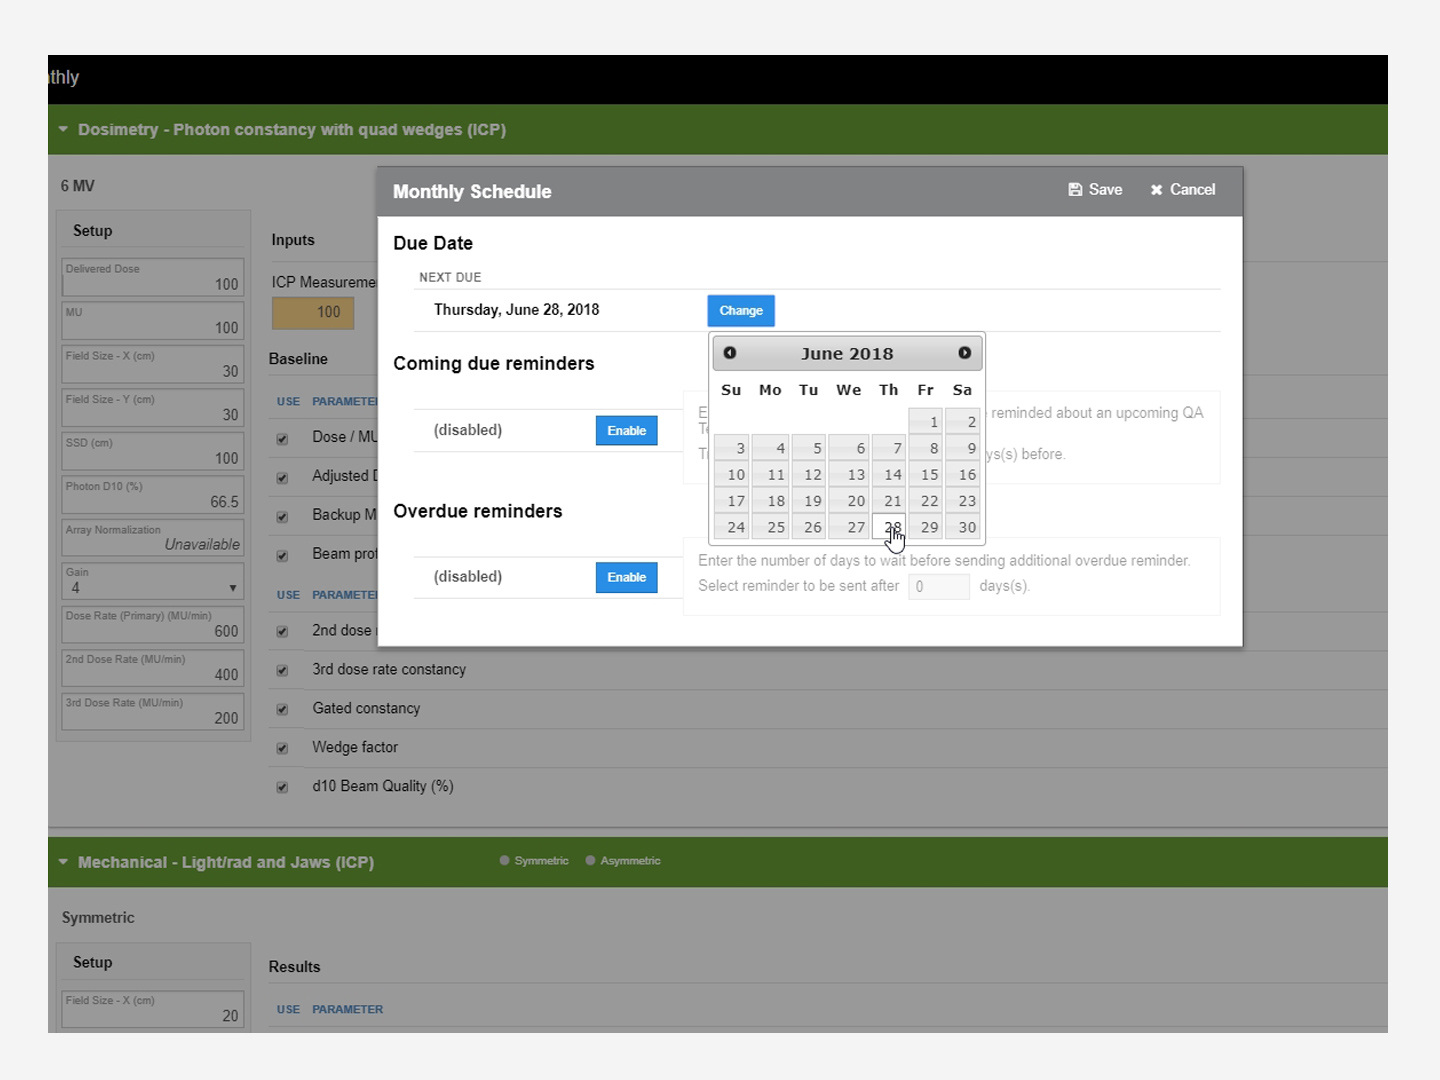
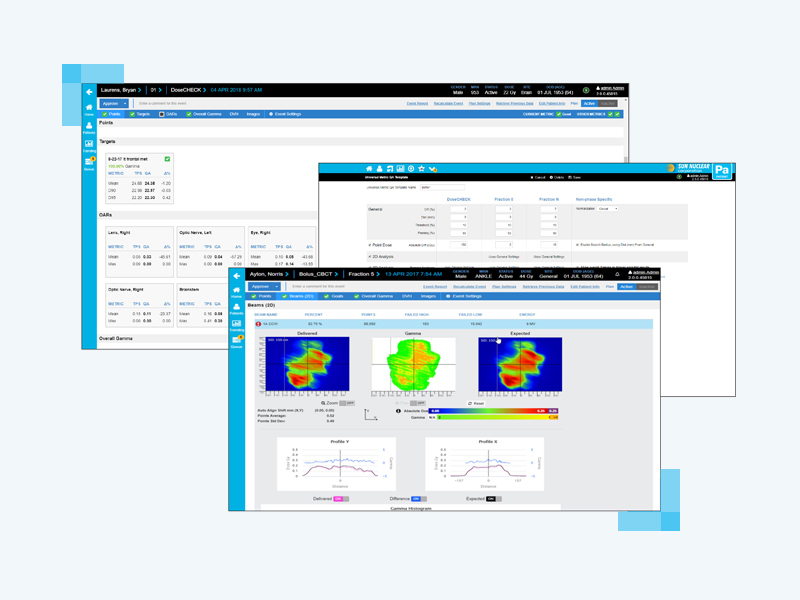
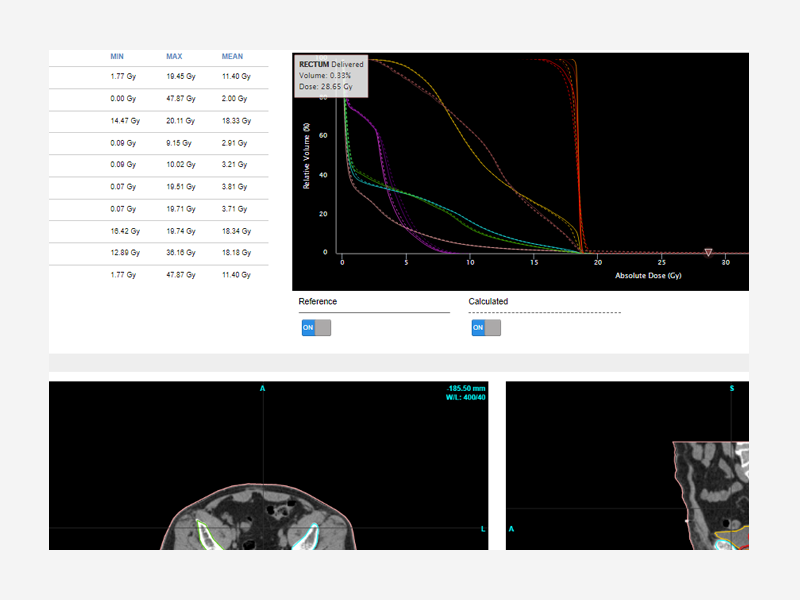
SunCHECK® Machine integrates all Machine QA — from Daily Output checks to Annual QA tasks, and everything in between — with visibility for all stakeholders.
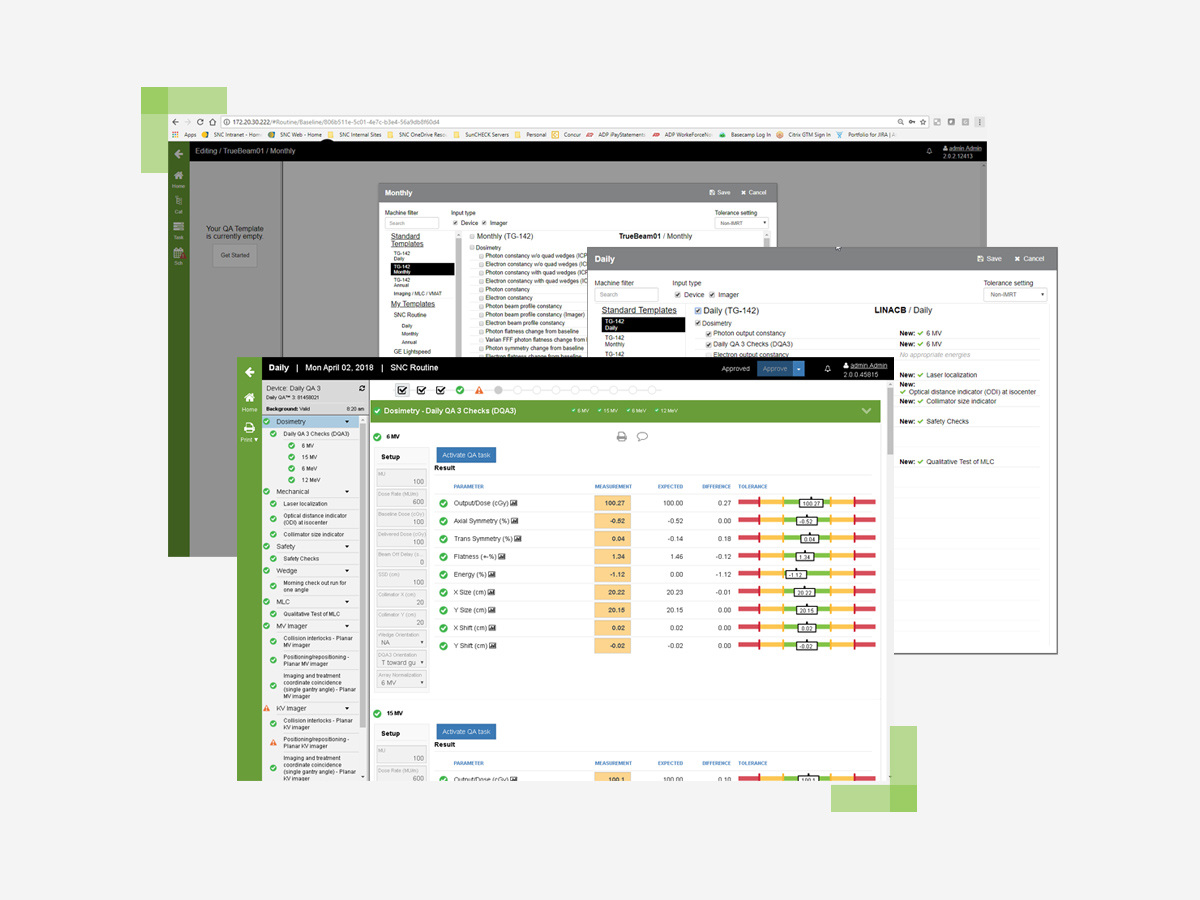
Standardize Daily, Monthly, Annual QA
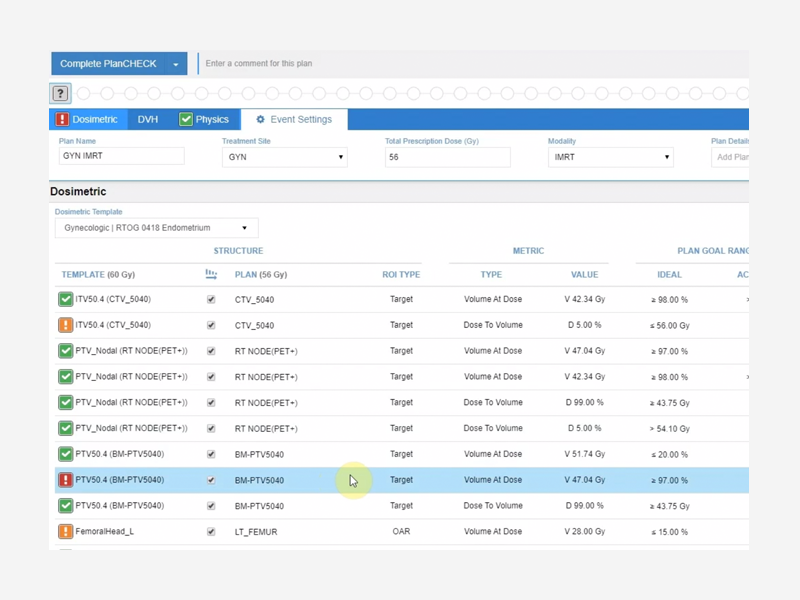
Ensure standardization among clinics and machines with shared tolerances. Apply ready-to-use, yet customizable, templates for efficient QA. No more spreadsheets!
Streamline Machine QA with Device Connectivity and Control
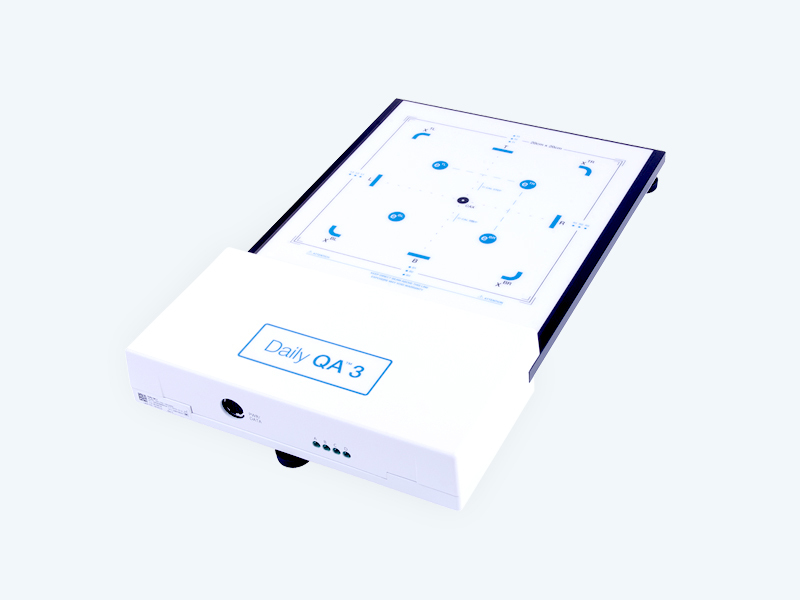
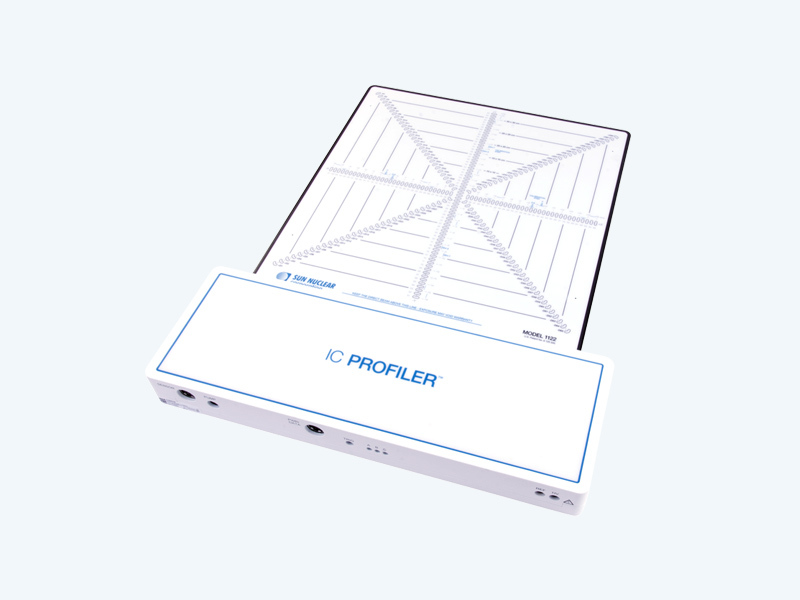
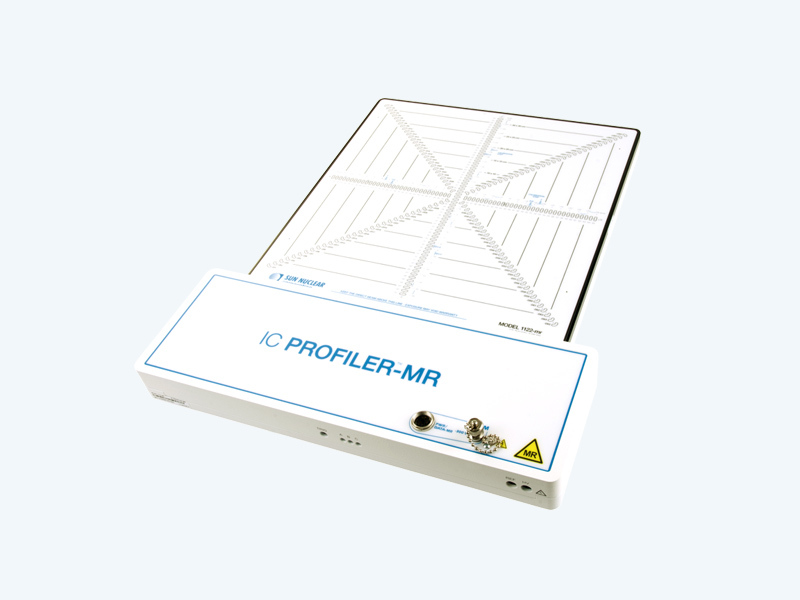
Automate data collection with direct device integration to Daily QA™ 3, IC PROFILER™ and IC PROFILER™-MR — no need for additional software and transfer of data. Complete your entire TG-142 and DIN QA easily within SunCHECK.
Browser-Based Access
Access Machine QA and results from any networked computer. One point of access drives efficiency and critical consistency across locations, machines and staff.
Automate Imaging, MLC and VMAT QA
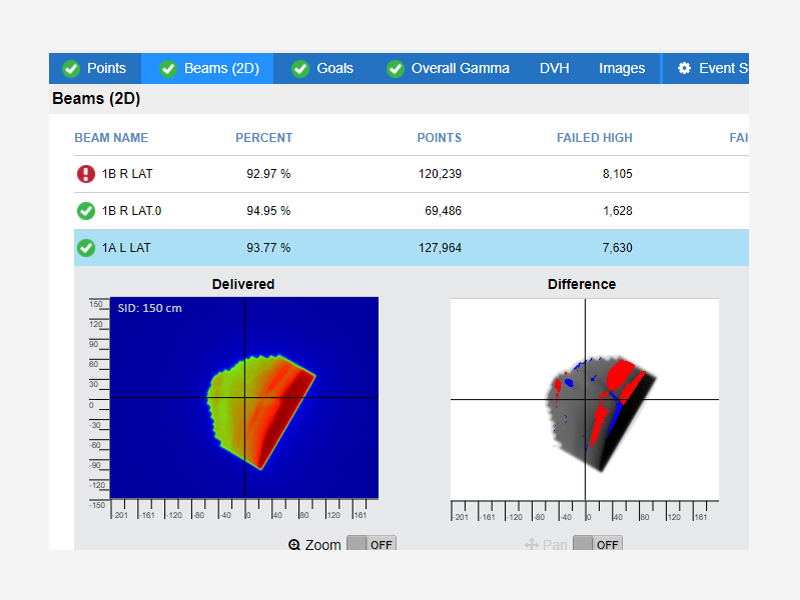
Deliver QA beams and SunCHECK Machine automatically captures, processes and analyzes the images or log files. Results are stored and, if necessary, notifications are sent, based on pass/fail status.
“I can do three times as much work in half the time with SunCHECK Machine. The IC PROFILER integration is amazing. You put on a Quad Wedge and you’ve done four tests in one exposure — output, beam energy, profile constancy and MU.”
Hamilton Medical Center
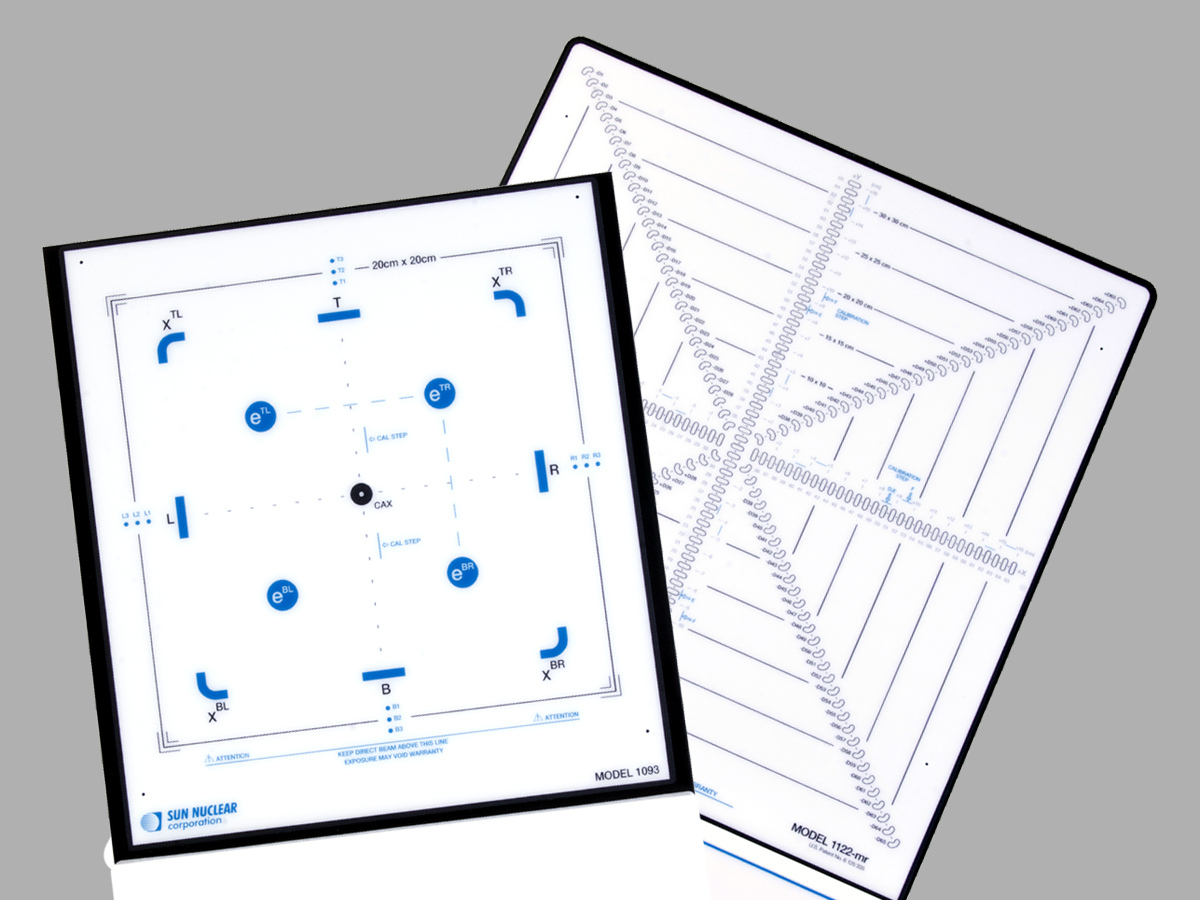
IC PROFILER & Daily QA 3 Integration
With direct connectivity from IC PROFILER and Daily QA 3 to SunCHECK:
- Efficiently complete daily, monthly and annual QA – no manual data entry required.
- Deliver the test beam, then accept or reject results on your terms and timeframe.
Proactive Machine Analysis
With SunCHECK Machine, get ahead of your team’s asset management and compliance needs. Data trending tracks parameters approaching out-of-tolerance levels.
Report templates demonstrate compliance with accreditation bodies, and centralized storage makes report retrieval easy.
Get more efficient with automated Machine QA.
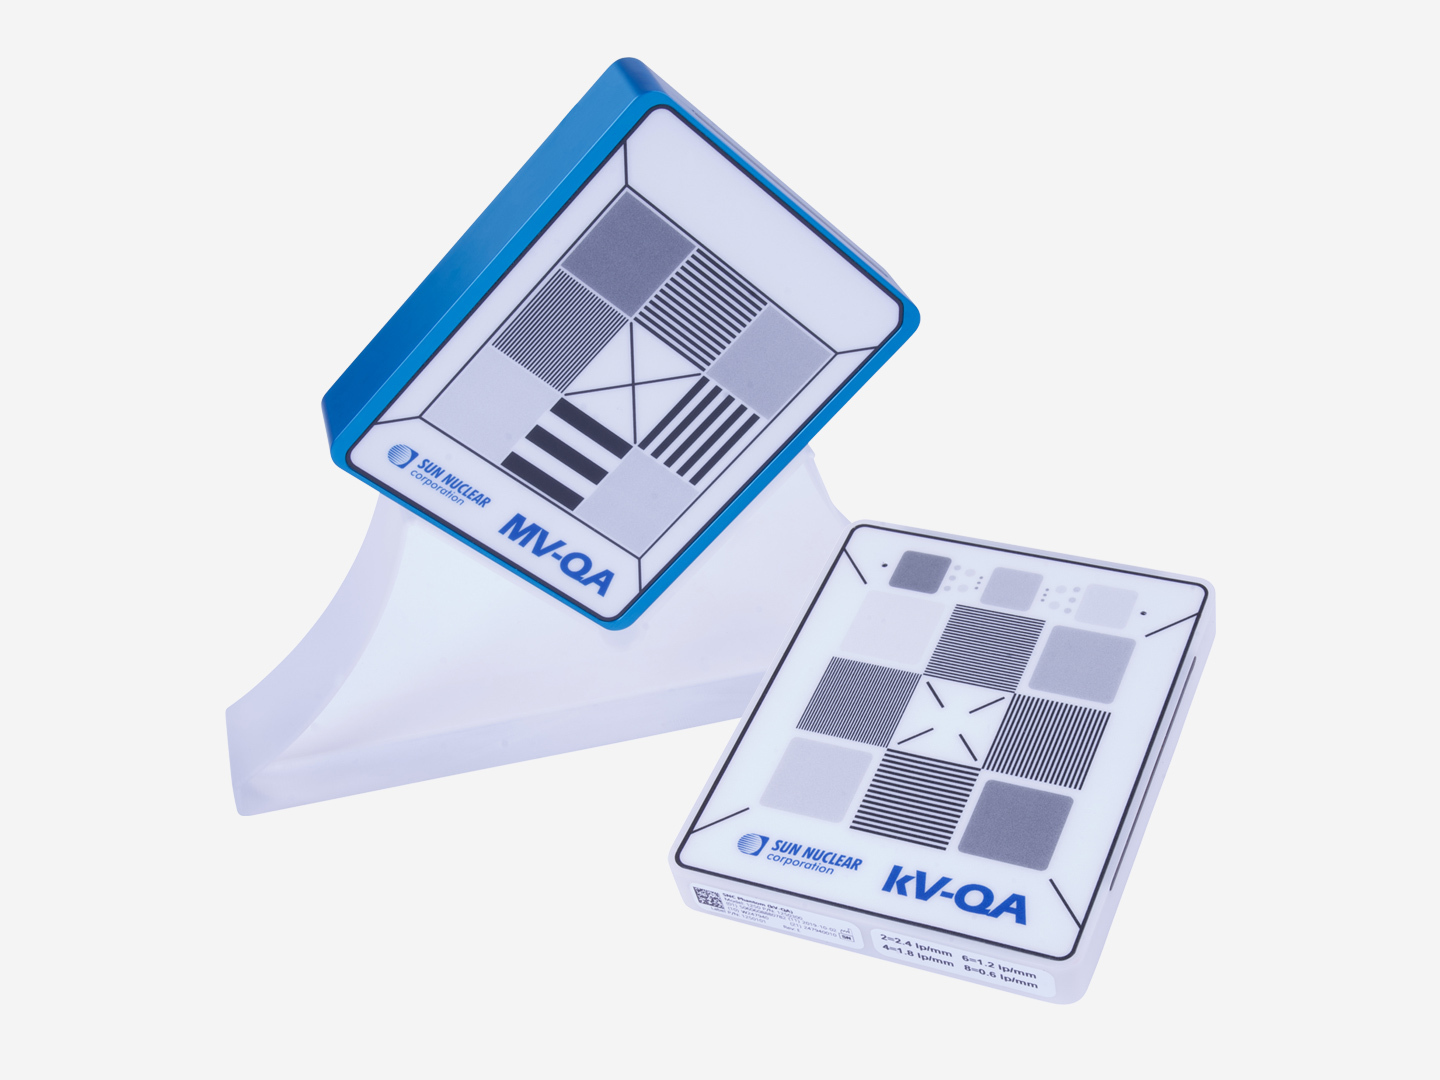
MV-QA & kV-QA Phantoms
Support and enable image scaling, positioning offset, spatial resolution, contrast, uniformity and noise.
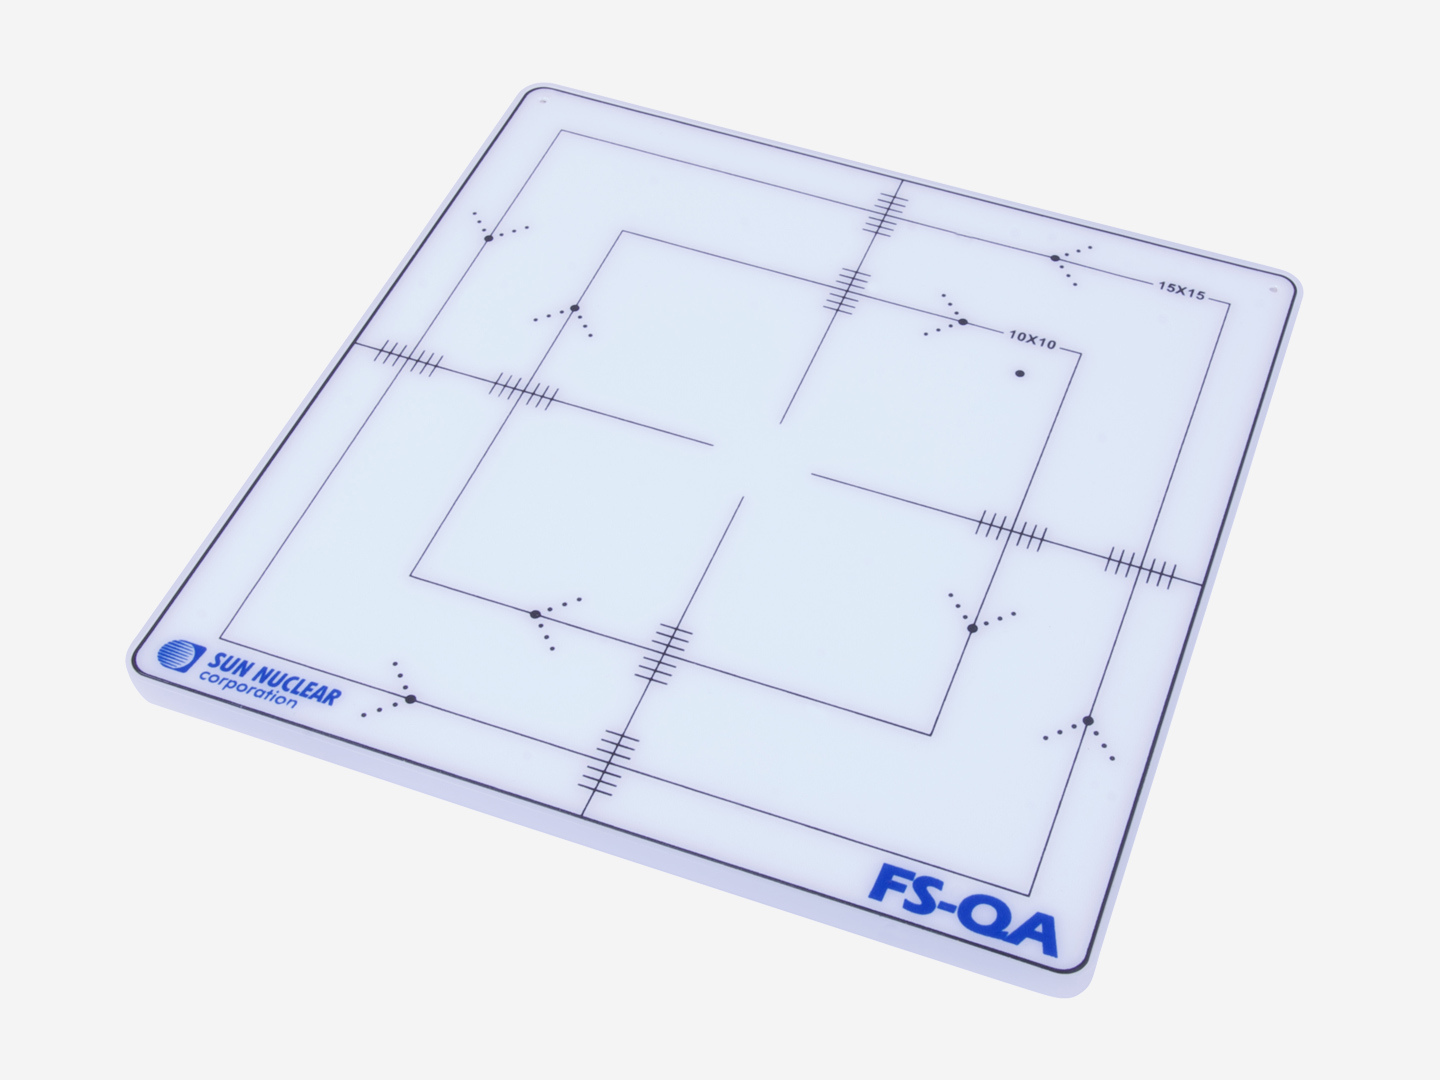
FS-QA Phantom
Perform field size QA and constancy testing with symmetric and asymmetric light field/radiation field coincidence, and jaw positioning, and flatness and symmetry for photon and electron beam profile constancy.
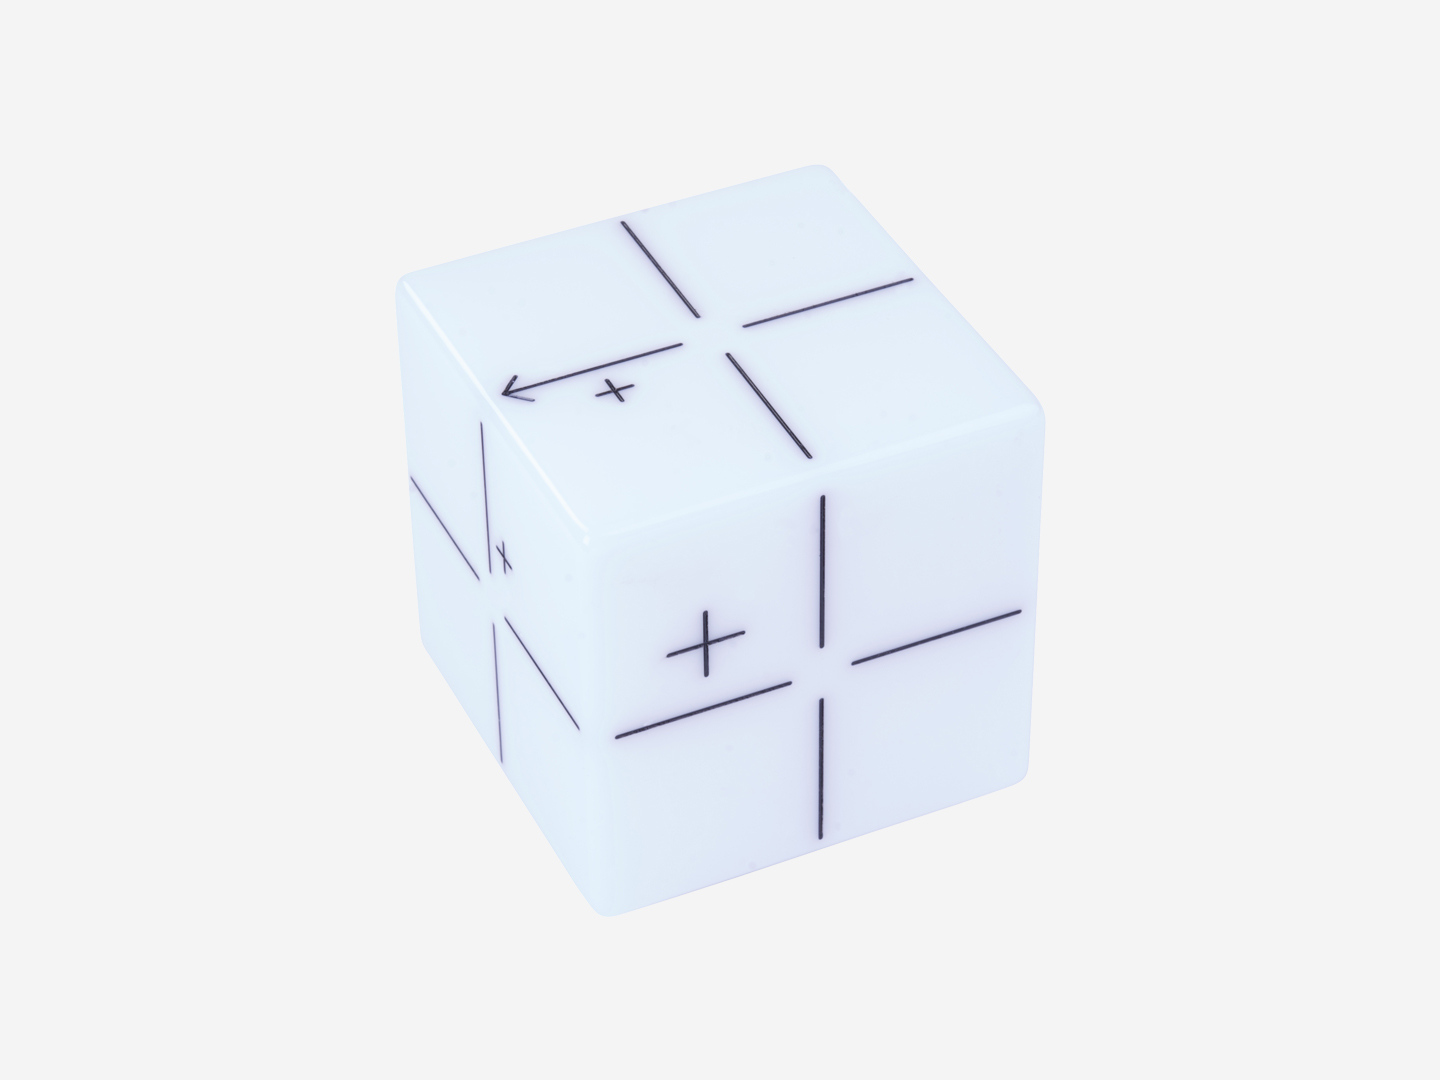
WL-QA Phantom
Perform isocenter QA through Winston-Lutz measurements, imaging and radiation field isocenter coincidence, cone-beam CT (re)positioning, end-to-end IGRT positioning, and 3D isocenter offset results.
Combine SunCHECK Machine with SunCHECK Patient for full automation.
Clatterbridge Cancer Centre
Liverpool England
Validate treatment delivery throughout the treatment process to enable more robust QA for SABR patients and better triage the most at-risk patients. At the same time, improve the workflow for image-based and templated Machine QA.
Their solution of choice: SunCHECK

Resources
Publications
- Daily Quality Assurance Efficiency Evaluation Using SunCHECK Machine and Machine Performance Check
- SunCHECK Machine, an automated QA software solution: A centres 5 year experience evaluation
- Quantification of Beam Steering with an Ionization Chamber Array
- Clinical Experience Implementing An Ion Chamber Array for Monthly Beam Constancy Versus Ion Chamber in Water
- Quality Assurance of Beam Energy and Output for Gated Treatment Delivery Using IC Profiler and Quad Wedges
- SU‐E‐T‐54: A New Method for Optimizing Radiation Isocenter for Linac‐Based SRS
- MoreLess
Specifications
Browser Support |
Google Chrome (Recommended), IE 11 |
Protocol Support |
Yes, TG- 142 (Includes all 127 tasks defined in |
Access from any networked computer |
Yes |
Manages all Daily, Monthly, & Annual Linear Accelerator QA |
Yes |
Trending and Reporting for consistent and traceable Quality procedures |
Yes |
Scheduling and Automated Email Alerts |
Yes |
Supports Data Collection from SNC Devices |
Yes |
Supports Most QA/QC Phantoms |
Yes |
| MoreLess | |
MV-QA |
|
Line Pairs (mm) |
0.1, 0.2, 0.5, 1.0 ± 0.025 |
ROI |
9 (4 spatial, 4 contrast, 1 center) |
Dimensions (cm) |
12.7 L x 10.2 W x 2.5 D |
kV-QA |
|
Line Pairs (mm) |
0.6, 1.2, 1.8, 2.4 ± 0.01 |
ROI |
28 (4 spatial, 23 contrast, 1 center) |
Dimensions (cm) |
12.7 L x 12.7 W x 1.6 D |
FS-QA |
|
Field Sizes (cm) |
10 x 10; 15 x 15 |
Markers (±0.1mm) |
56 - Field size (7 per field edge) |
Dimensions (cm) |
17.8 L x 17.8 W x 0.6 D |
WL-QA |
|
Dimensions (cm) |
6.0 x 6.0 x 6.0 |
Sphere Size (mm) |
7.0 |
Sphere Center Accuracy (mm) |
0.2 |
| MoreLess | |

